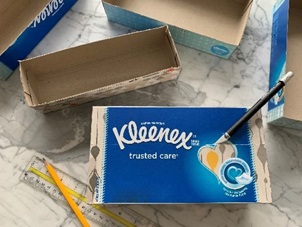
The winter months are cold and flu season, which means we are left with lots of empty Kleenex® tissue boxes. Instead of throwing them away why not use them as the perfect addition to your home office by making your own customized desk organization system with your kids using upcycled Kleenex® tissue boxes - perfect for storing work or school supplies.
Kleenex® brand tissues are made for every moment life throws at us – whether it’s tears, runny nose sniffles or spills so keeping Kleenex® on hand at my home has been essential for all life moments with my family. Not only are Kleenex® tissues absorbent and gentle, they prevent irritation while soothing and moisturizing skin. But what do you do with all of the empty Kleenex® boxes when you are done with them?
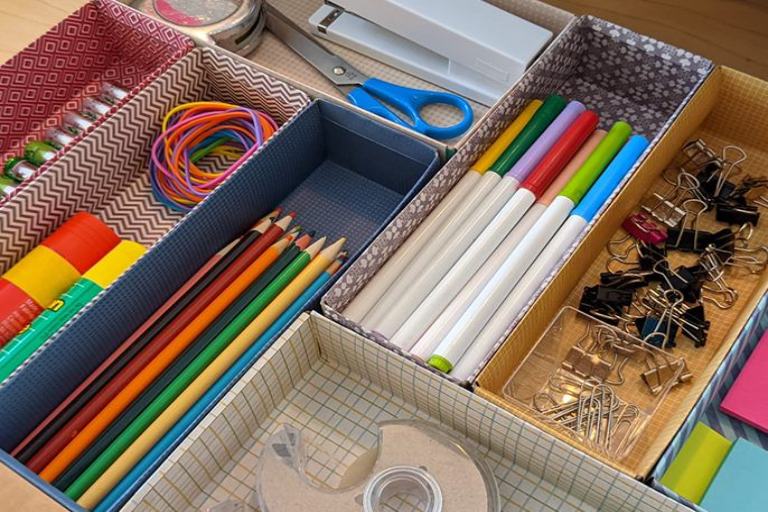
Here’s where upcycling comes in handy: Upcycling allows you to repurpose something that would otherwise end up in a landfill or at a recycling centre. With a few simple steps, you can turn your empty Kleenex® boxes into a fun, customized, and practical DIY desk organizing system with compartments to fit all of your daily work and learning needs. Added bonus? Clearing the clutter off your desktop and sorting it into these colourful bins will leave plenty of easy-access space for an important everyday item and Canada's softest facial tissue brand, Kleenex® facial tissues.
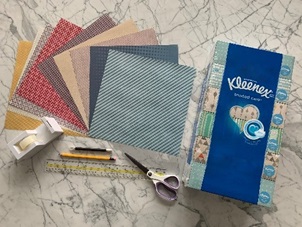
The supplies you’ll need for this DIY project:
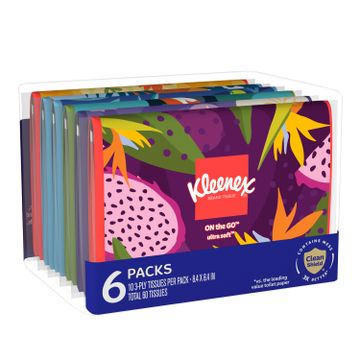
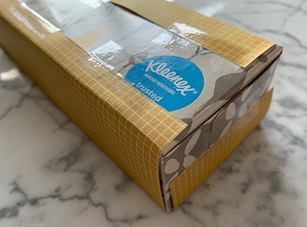
- Multiple boxes of Kleenex® Trusted Care facial tissues (I used six boxes with 100 tissues each for this configuration)
- Decorative paper (I used eight pieces of 12” x 12” scrapbooking paper)
- Pencil
- Ruler
- Scissors
- Utility knife
- Transparent tape
How to make a desk organizer with Kleenex® Tissue Boxes
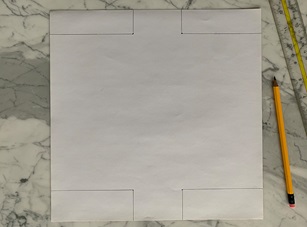
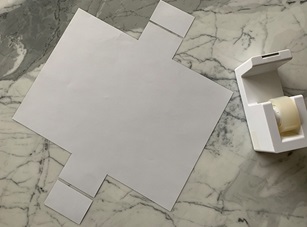
Step 2. Center one cut box on the back of a piece of decorative paper and use a pencil to mark the position of all four corners.
Step 3. Use a ruler to draw straight lines from the top, bottom, and sides of the paper to the four corner markings.
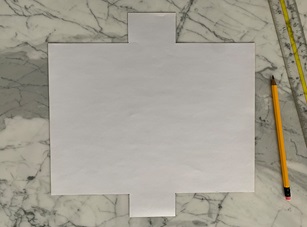
Step 4. Cut the outside rectangles you just drew, leaving two wide tabs and two narrow tabs.
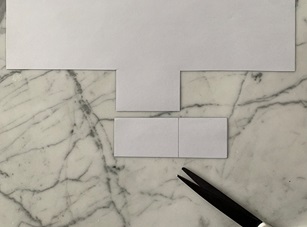
Step 5. Use one of the cut paper rectangles from Step 4 to lengthen both narrow tabs. Mark and cut the paper rectangle to size, then tape it in place.
Step 6. Flip the paper right-side-up and fold each of the four decorative paper tabs toward the center.
Step 7. Tuck the folded paper into the cut box.
Step 8. Fold the paper tabs around the tissue box, taping them in place.
Step 9. Repeat until you’ve covered each of your cut Kleenex® boxes.

This simple DIY arts and crafts project is fun for you and your kids to make together at home. Share with us your creations and show us how creative you can be with Kleenex® facial tissue boxes. Make sure to tag @Kleenex and #KleenexCrafts.